

Introduction
Are you ready to elevate your music streaming experience? If you’re a fan of how to add navidrome to symphonium, then you’re in for a treat. These two powerful platforms can work together beautifully, giving you access to your favorite tunes anytime, anywhere. how to add navidrome to symphonium an intuitive self-hosted music server, while Symphonium is one of the best mobile apps for seamless listening on the go.
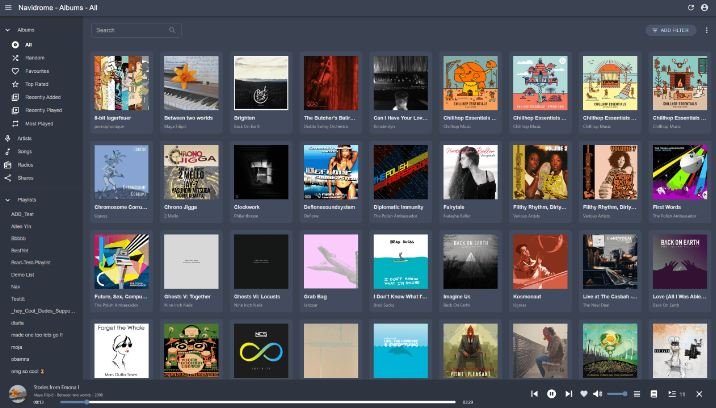
Imagine having all your music organized and accessible just a few taps away. Whether you’re at home or out and about, combining these tools will transform how you enjoy your soundtrack. Let’s dive into how to add Navidrome to Symphonium so that you can start rocking out with ease!
Step 1: Setting up a Server for Navidrome
Before diving into Navidrome, you first need a server. This can be a local machine or a cloud-based option like DigitalOcean or AWS. Choose what suits your needs best.
For local setups, ensure your device is always on and connected to the internet. Configuring it for remote access is crucial if you’re looking to stream from anywhere.
If you opt for a cloud service, create an account and spin up an instance with Ubuntu. This operating system plays nicely with Navidrome’s requirements.
Don’t forget about security! Setting up firewalls and protecting your server with SSH keys will help keep unwanted visitors at bay. A little effort here pays off big time in peace of mind later on.
With your server ready, you’re one step closer to enjoying seamless music streaming through Navidrome.
Step 2: Installing and Configuring Navidrome
Installing Navidrome is straightforward. First, download the latest version from the official website. You’ll find packages for various operating systems, making it easy to choose what fits your setup.
Once downloaded, extract the files to a directory of your choice. If you’re using Linux or macOS, open a terminal and navigate to that folder. For Windows users, simply use File Explorer.
Next, you’ll need to configure Navidrome by creating a configuration file. This involves specifying details like your music library path and database settings.
Running the command `./navidrome` in your terminal will start the server if you’re on Linux or macOS—Windows users can double-click the executable file instead. After this step, access Navidrome through your browser at `http://localhost:4533`. There’s no shortage of user-friendly documentation available online should you encounter any hiccups along the way.
Step 3: Integrating Navidrome with Symphonium
After setting up Navidrome, it’s time to connect it with Symphonium. Start by launching the Symphonium app on your device. Navigate to the settings menu and locate the section for adding a new server.
Enter your Navidrome server’s URL. This typically looks something like `http://your-server-ip:4533`. Ensure you include the correct port number if necessary.
Next, input your credentials—username and password—for added security. Always double-check these details; typos can lead to frustrating connection issues.
Once you’ve entered everything correctly, save those changes. The app will attempt to sync with Navidrome automatically. If successful, you’ll see your music library populate seamlessly within Symphonium’s interface.
You’re now ready to enjoy all that organized music at your fingertips! Any hiccups during this process? Don’t worry; troubleshooting is just around the corner.
Troubleshooting Common Issues
When adding Navidrome to Symphonium, you might encounter some hiccups. One common issue is connectivity problems. Ensure that your server is reachable by verifying the IP address and port settings.
Authentication errors can also arise. Double-check the API key entered in Symphonium matches what you configured in Navidrome. A simple typo could be the culprit.
If your music library isn’t showing up, inspect file permissions on your server. Make sure that Navidrome has access to read the media files.
Consider checking firewall settings if you’re facing connection issues. Sometimes, firewalls block ports needed for smooth communication between these apps.
Each problem usually has a solution lurking nearby; it just takes a little digging to uncover it!
Additional Tips and Recommendations
When setting up Navidrome with Symphonium, consider organizing your music library efficiently. A well-structured folder system can save you time and enhance navigation.
Regularly update both applications to their latest versions. This ensures that you benefit from new features and security improvements. Staying current helps avoid compatibility issues down the line.
Explore the settings in Navidrome for customization options. Tailoring playlists, themes, or user interface preferences can significantly improve your listening experience.
Engage with online communities dedicated to Navidrome and Symphonium. Sharing experiences tips can lead to discoveries about advanced configurations or hidden features.
Don’t hesitate to back up your server data regularly. It’s a simple precaution that protects against unexpected data loss and keeps everything running smoothly.
Conclusion
Adding Navidrome to Symphonium can significantly enhance your music streaming experience. By following the steps outlined in this guide, you can set up and configure your server with ease.
Make sure to take your time during each step, especially when it comes to installing and configuring Navidrome. Proper integration with Symphonium will ensure smooth playback and an enjoyable listening journey.
Troubleshooting common issues is also crucial for a seamless experience. Don’t hesitate to reach out for support or consult online forums if you encounter challenges along the way.
With some additional tips in mind, including regular updates and backup practices, you’ll be well on your way to enjoying all that this integration has to offer. Embrace the world of personalized music streaming and make the most of what Navidrome and Symphonium can bring into your audio life!